
How to implement our Login in your project
This page will help you to set up our custom login into your app.
This guide will show you how you can add our custom login within your website, so that users can login with their SphereOne credentials. In order to use our login, the only requirement is to add some lines of code in your application to be able to make the connections.
NOTE: In this documentation we are using Firebase and React.
Step 1: Add new OIDC provider
To add a new OpenID Connect (OIDC) provider we are going to open the firebase console (CLI), we are going to go to the Authentication tab that is in the left browser, then inside this tab we are going to click where it says Sign-in method, and we are going to click where it says Add new provider. See the image below

Then a window will open with different providers, we must choose in the custom providers category, the OpenID Connect option.

Here inside we must enable this type of provider and choose the implicit_flow (id_token), then we must fill in the following data:
- Name:
<Some name of your choice> - Client ID:
spheremvp - Issuer (URL):
https://securetoken.google.com/spheremvp
NOTE: To have a reference you can see the image below
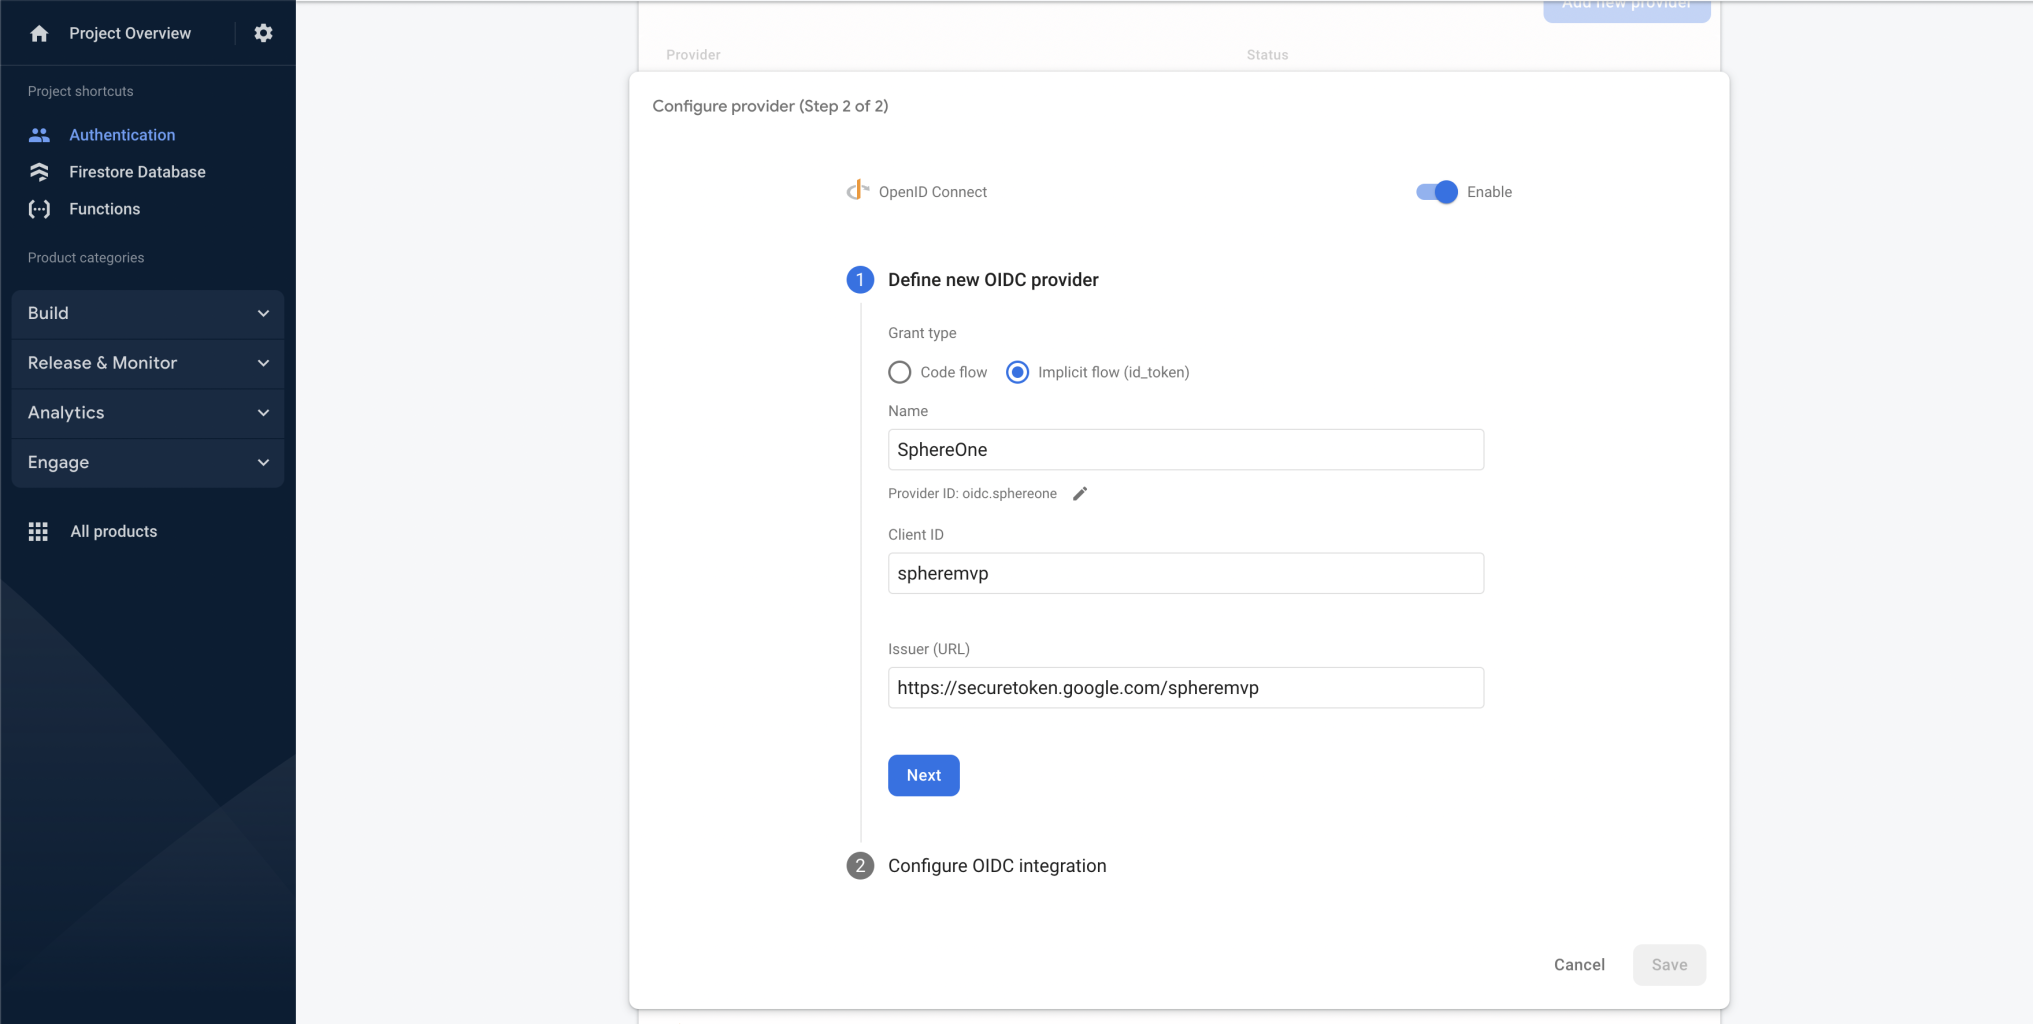
NOTE: It is important to save the Provider ID below the name input as we will need it later on.
NOTE: It is important to save the Provider ID below the name input as we will need it later on.Then click next, and in the next tab click add.
We have finished Step 1 and can now successfully add our new custom OIDC provider.

Step 2: How it works
Our login works as follows:
- The credentials entered in our login form are sent to our authentication layer.
- After the user is authenticated, we send you back an
idTokenin json web token (JWT) format with user information based on the authorization scopes they provided.
The image below, (Figure A) is an example of a website with a button to login with SphereOne. When a user clicks on this button, it will open a popup with the login form (Figure B). When the authentication process finishes successfully, an idToken is saved inside the LocalStorage under the same name with the JWT token for later use.
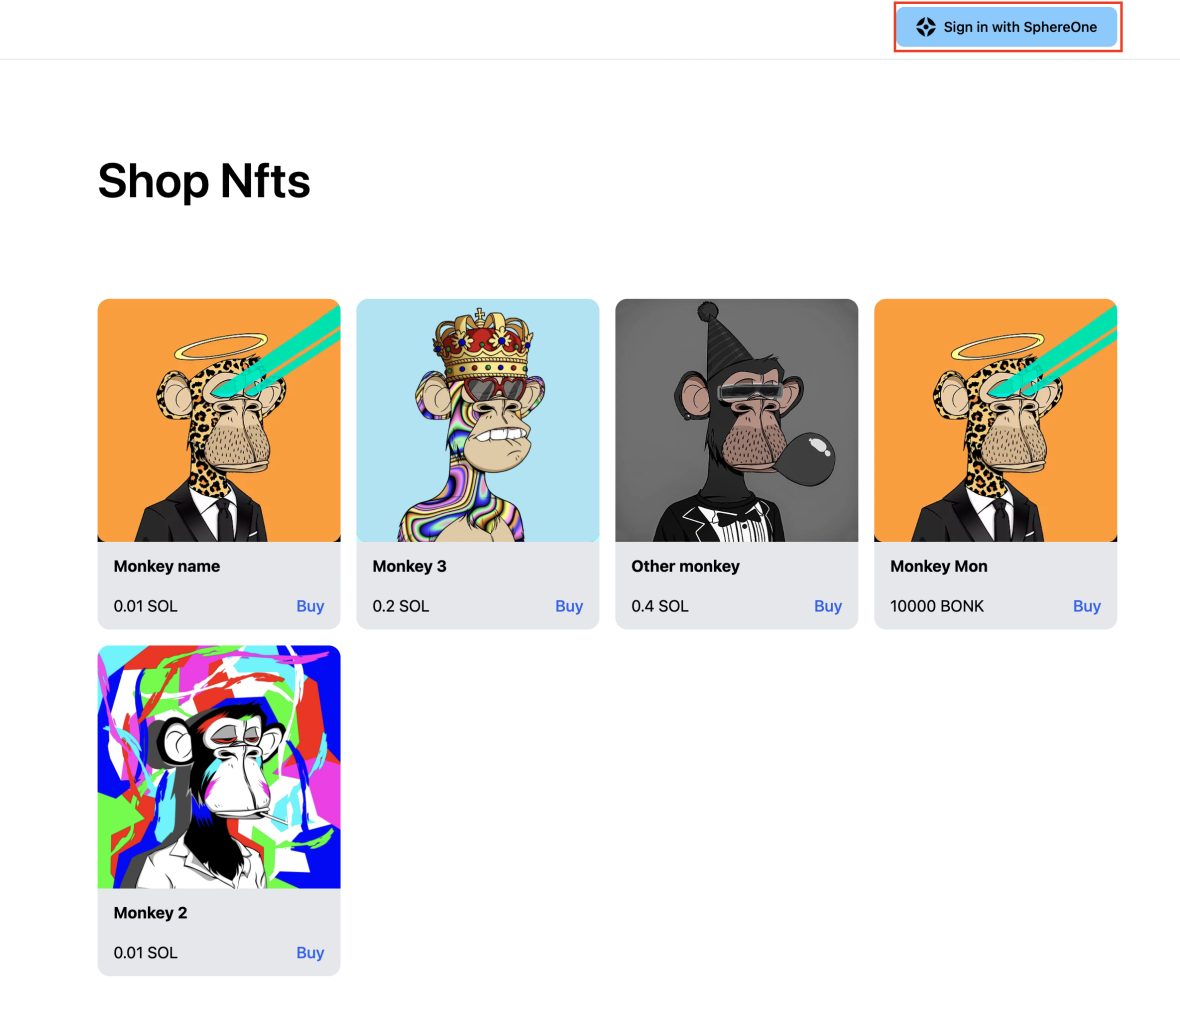
Figure A: Signing in with SphereOne
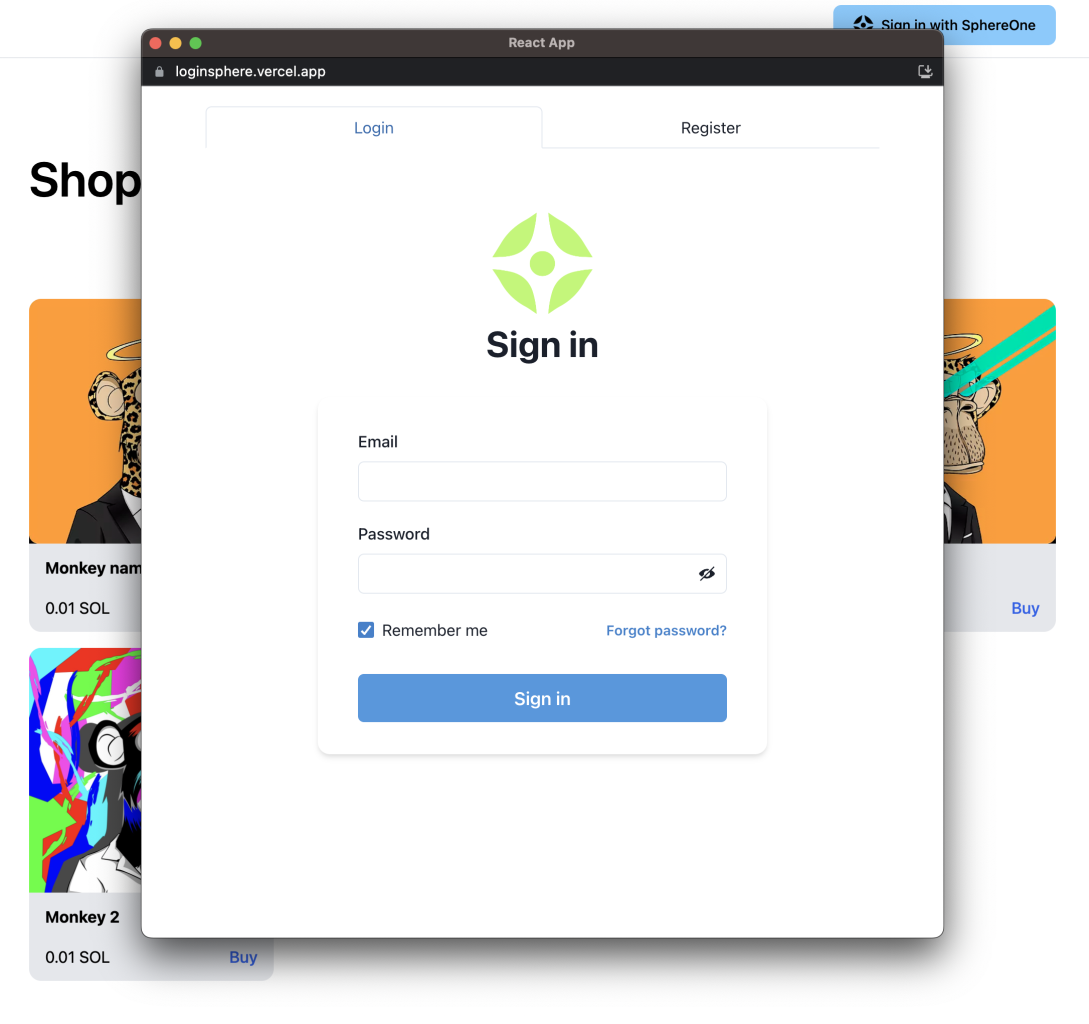
Figure B: SphereOne Login Form
Step 3: Adding triggers and listeners
The first thing we'll need to do is to add a trigger for the popup with the login form, as well as also a listener to give us the idToken at the end of the authentication when the popup window closes.
On the page where the button to sign in with SphereOne will be located, the following code must be included:
const url = "https://loginsphere.vercel.app";

// Popup trigger
const openSphereOneSignIn = () => {
    window.open(
      url,
      "Popup",
      `width=${800}, height=${850}, top=${(screen.height - 850) / 2}, left=${
        (screen.width - 800) / 2
      }`
    );
  };


// Listener for Popup response
useEffect(() => {
    const receiveMessage = async (event) => {
      if (event.origin === url) {
        localStorage.setItem("idToken", event.data);
        const token = event.data;
        if (token !== "") {
          await signInWithSphereOne(token);
        }
      }
    };
    window.addEventListener("message", receiveMessage);

    return () => window.removeEventListener("message", receiveMessage);
  }, []);
All that's left is to add the function to login with a custom OAuth provider. Whether you're using Firebase or any server-side functionality that has the option to authenticate through OIDC, it is very simple to connect the authentication of your server with the idToken that we return. In fact, Firebase includes OAuth provider methods out-of-the-box to help us with this.
Here is sample code that shows how to setup this with Firebase:
import firebase from "firebase";

const signInWithSphereOne = async (idToken) => {
    try {
      const provider = new firebase.auth.OAuthProvider("<Provider ID>"); // oidc.sphereone in this case
      const credential = provider.credential({ idToken });
      await firebase.auth().signInWithCredential(credential);
    } catch (error) {
      // Handle errors
    }
  };
If you aren't using Firebase and the server you are using does not have options to connect through OIDC, we also leave you the idToken located in the LocalStorage with that same name so you can decode the JWT token. In combination with the basic information we provide of the user, you can handle the creation of a new user.
Updated 6 months ago