
Getting Started
Use SphereOne to enable crypto payments within your game or application using minimal code.
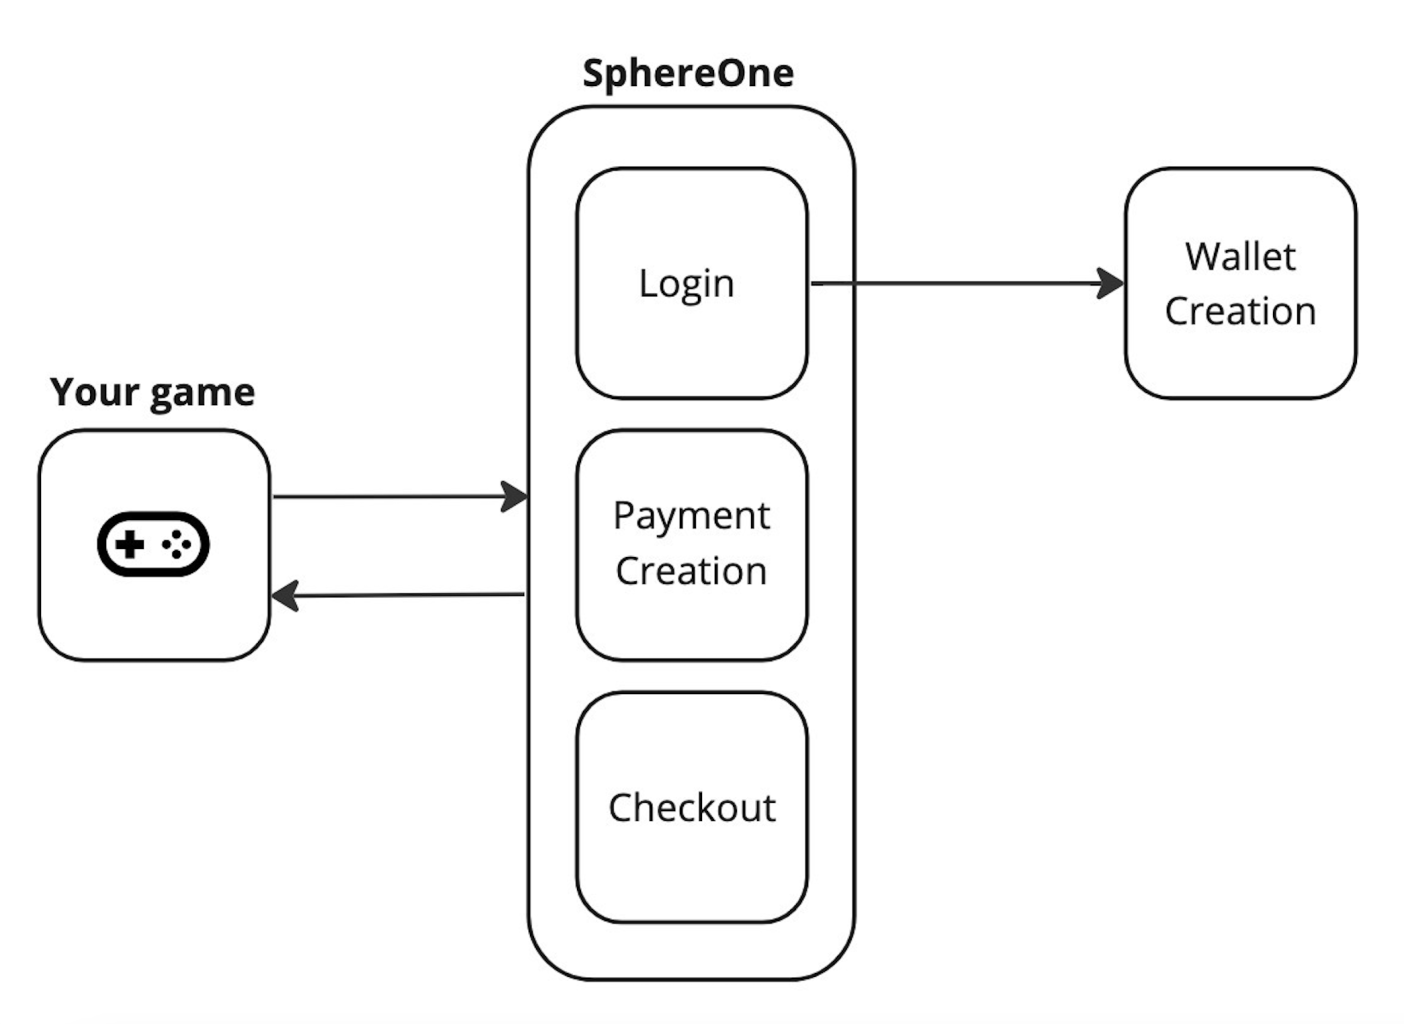
This guide will show you how to use the SphereOne API to start receiving payments in crypto from any chain. In order to accept cryptocurrency payments, you will need to interface with SphereOne's authentication, payment, and checkout APIs.
Step 1 - Sign Up
To start accepting cryptocurrency payments using the SphereOne API, you'll need a SphereOne merchant account. Follow these steps to create your account:
There are two ways for users to create their merchant accounts, through the SphereOne Wallet website or the SphereOne Merchant Dashboard.
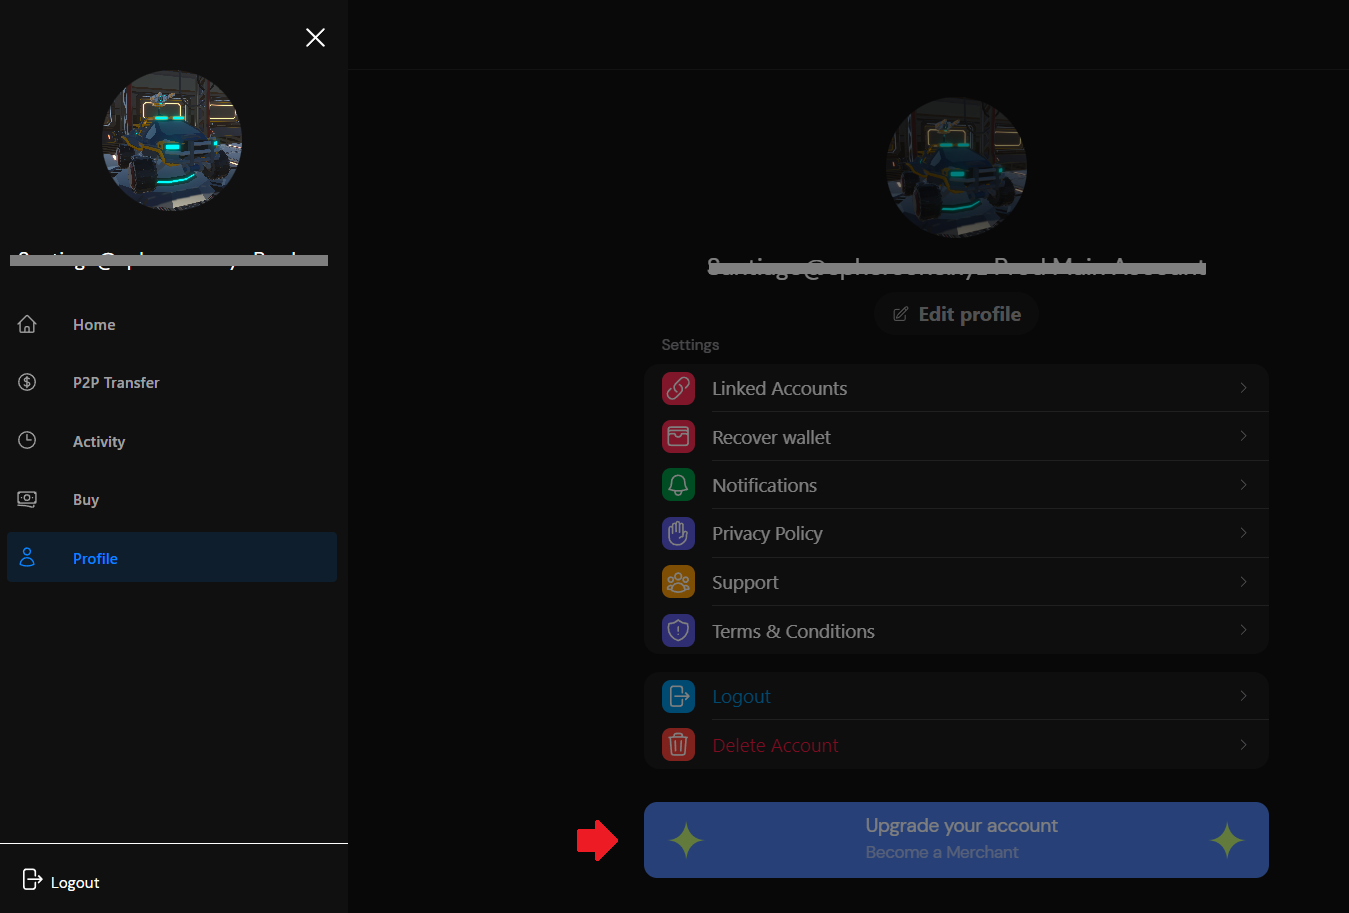
- The SphereOne Wallet website allows you to upgrade your existing account to a merchant account. Go to your Profile. In there, you can upgrade your
normal accountto amerchant account, as shown in the screenshots below.
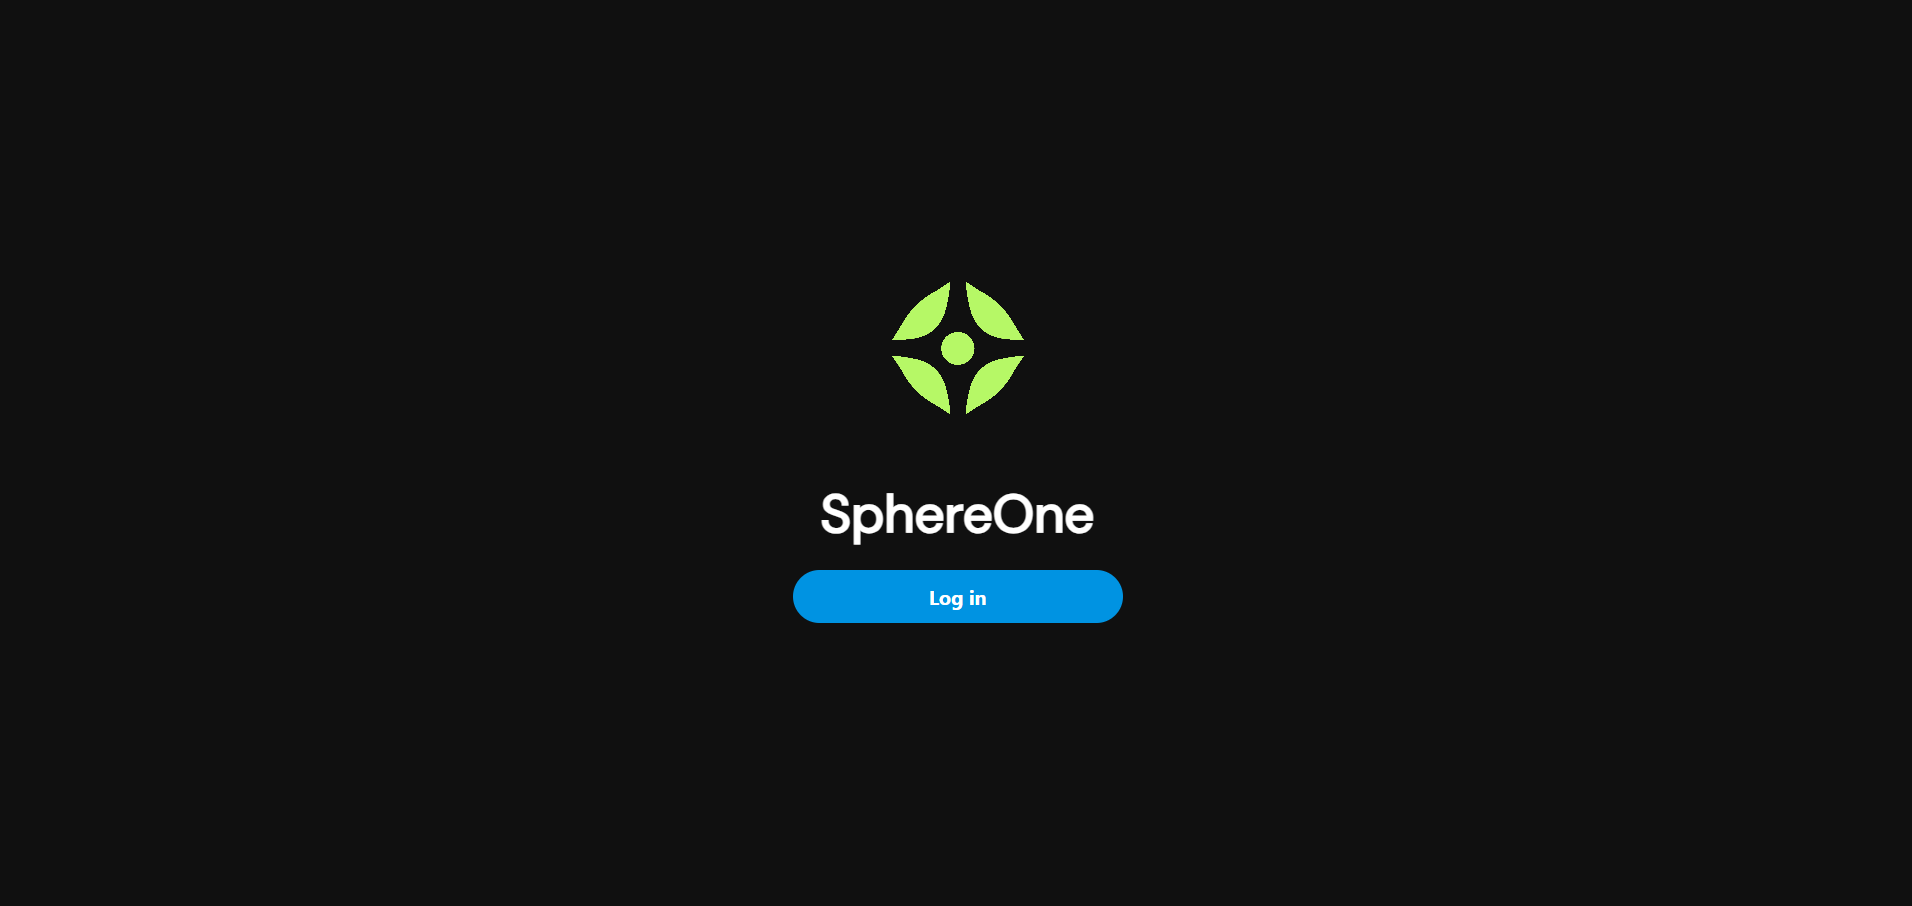
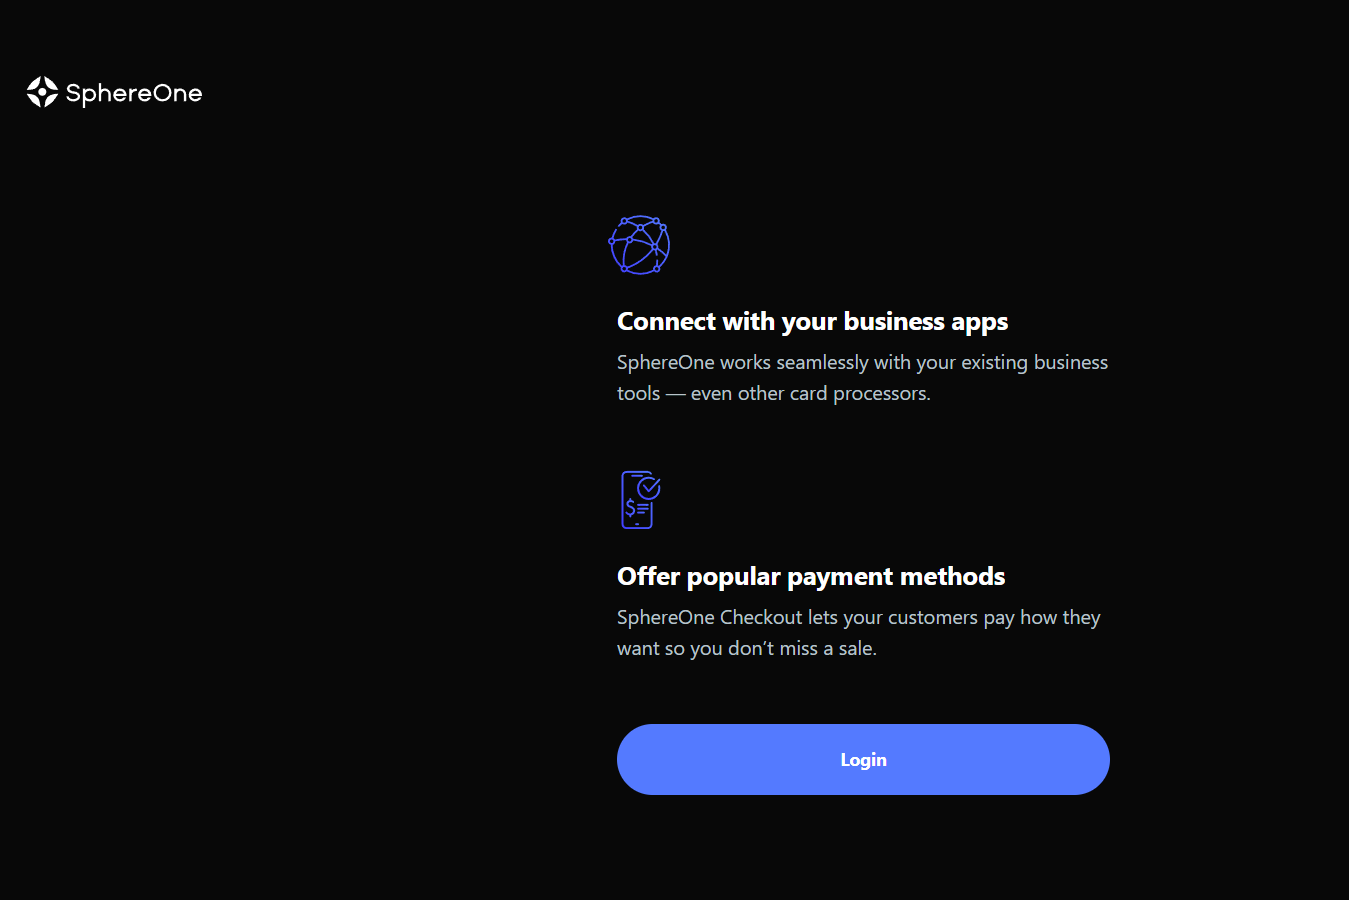
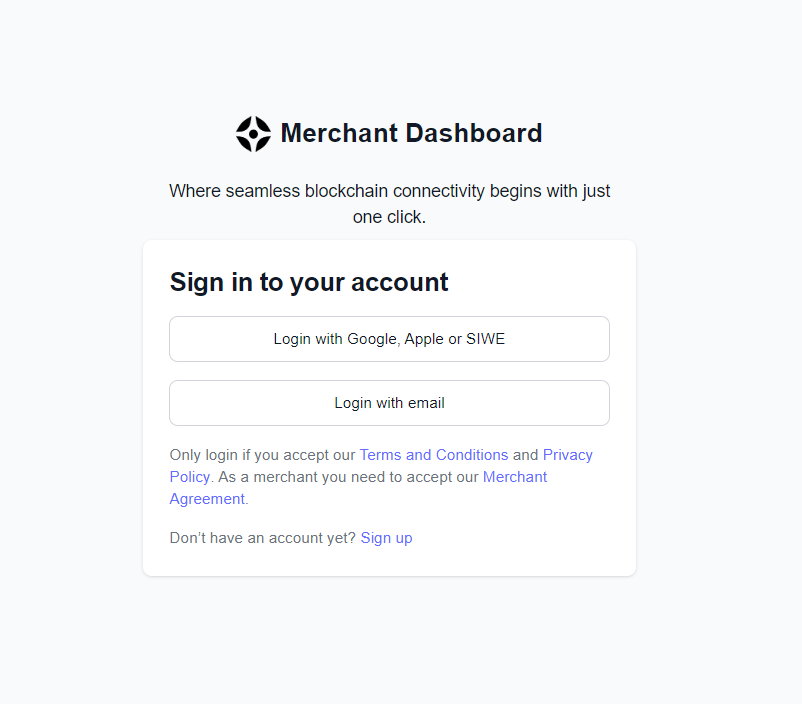
- The SphereOne Merchant Dashboard creates a merchant account directly. Click on the "Login" button to access the dashboard and follow the prompts to create your account.
You can choose to sign up or sign in, as shown in the screenshot below.
NOTE: The open inputs for email address doesn’t work with social accounts, like Google or Apple. This sign-in method must initially be created through the “Sign Up” flow in order to work for later sign-in attempts.
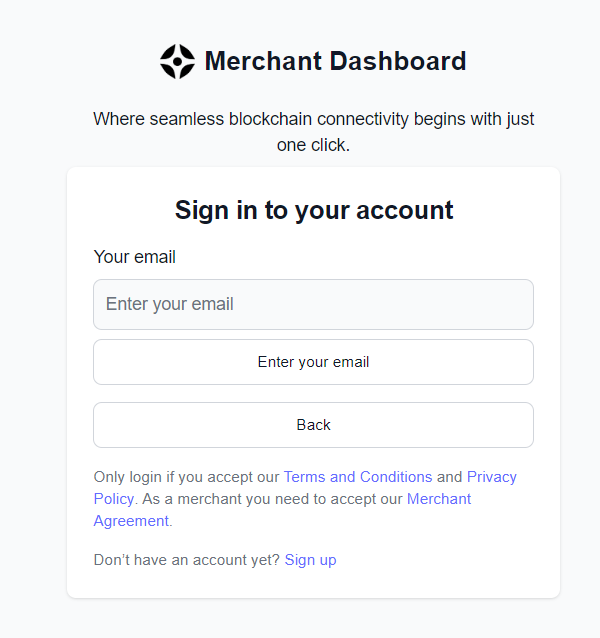
If you click on "Login with email" you will be asked to input your email to recieve a 6 digits code
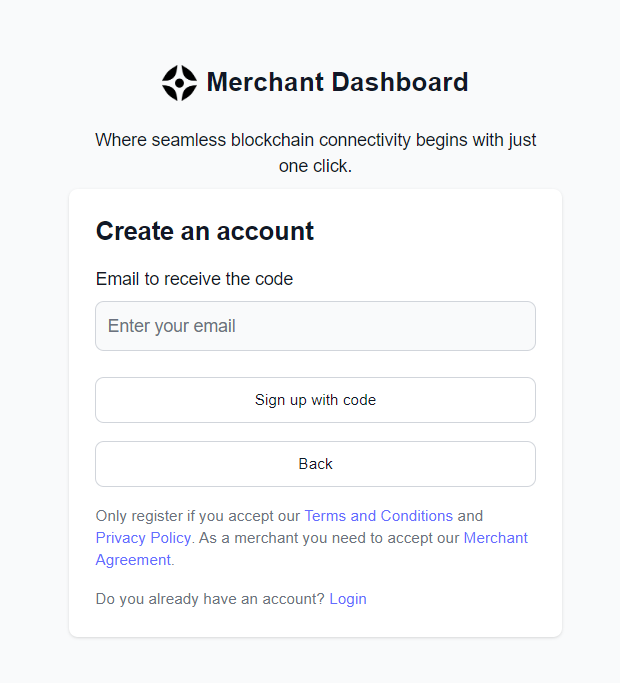
If you choose to sign up, you'll be presented with a similar screen where you can enter your email. For social sign-up methods like 'Sign in with Ethereum', Google, or Apple Accounts, you can streamline the registration process.
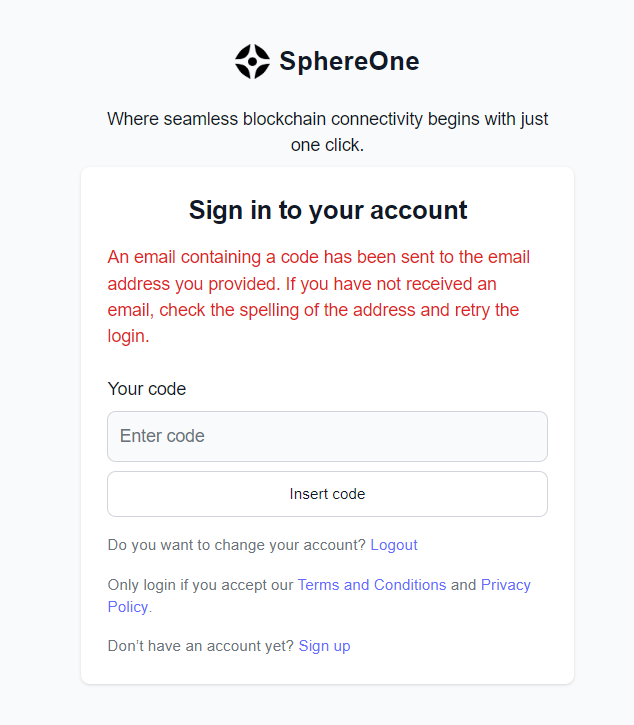
After signing up, you need to verify your email by entering a verification code sent to your provided email address. This step is not required for social sign-up methods (Sing in with Ethereum excluded)
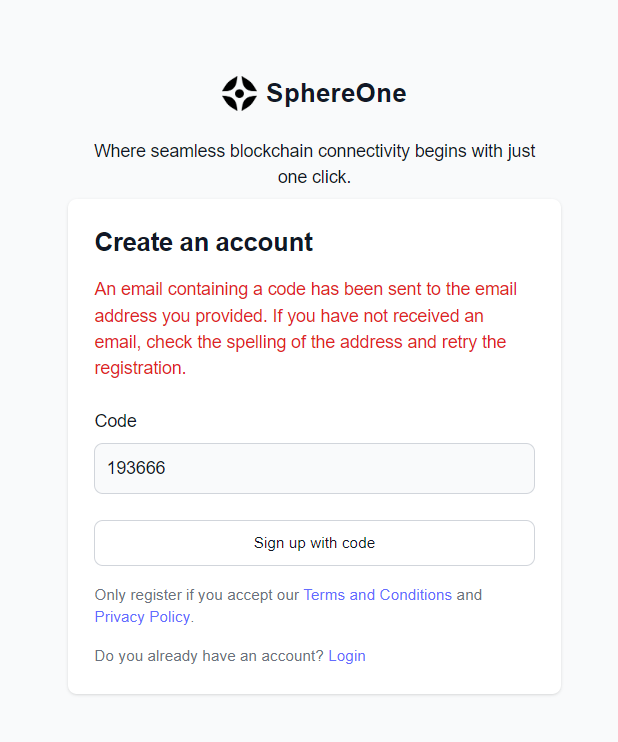
Note: After registration, you need to log in again. This means you will need to obtain a new code.
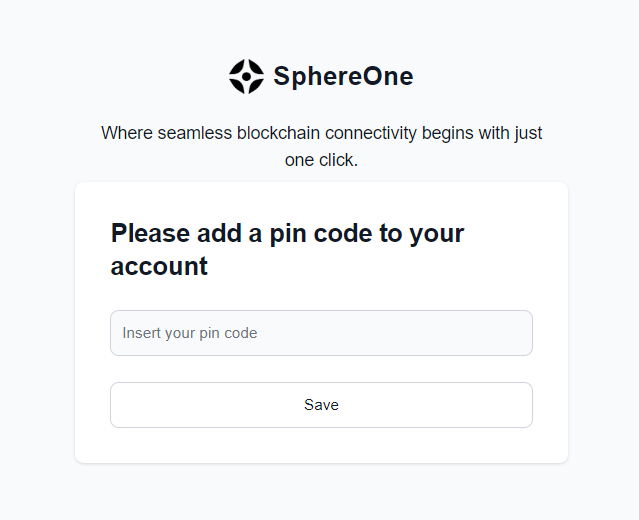
After your first log in, you will be prompted to add a pin code to your account. This pin code is necessary for authorization-related wallet operations, such as exporting private keys or making payments. This step applies to both merchant dashboard sign-ups and the SphereOne Wallet website.
The last step is to link your phone number. You can skip this step, but we recommend linking your number as it will be the only backup mechanism you will have to reset your PIN code if it is lost.
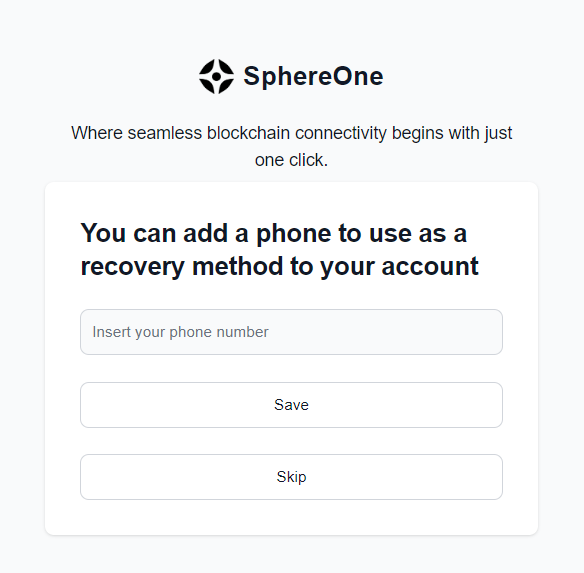
NOTE: Without a PIN code you will not be able to make payments or export your wallets!
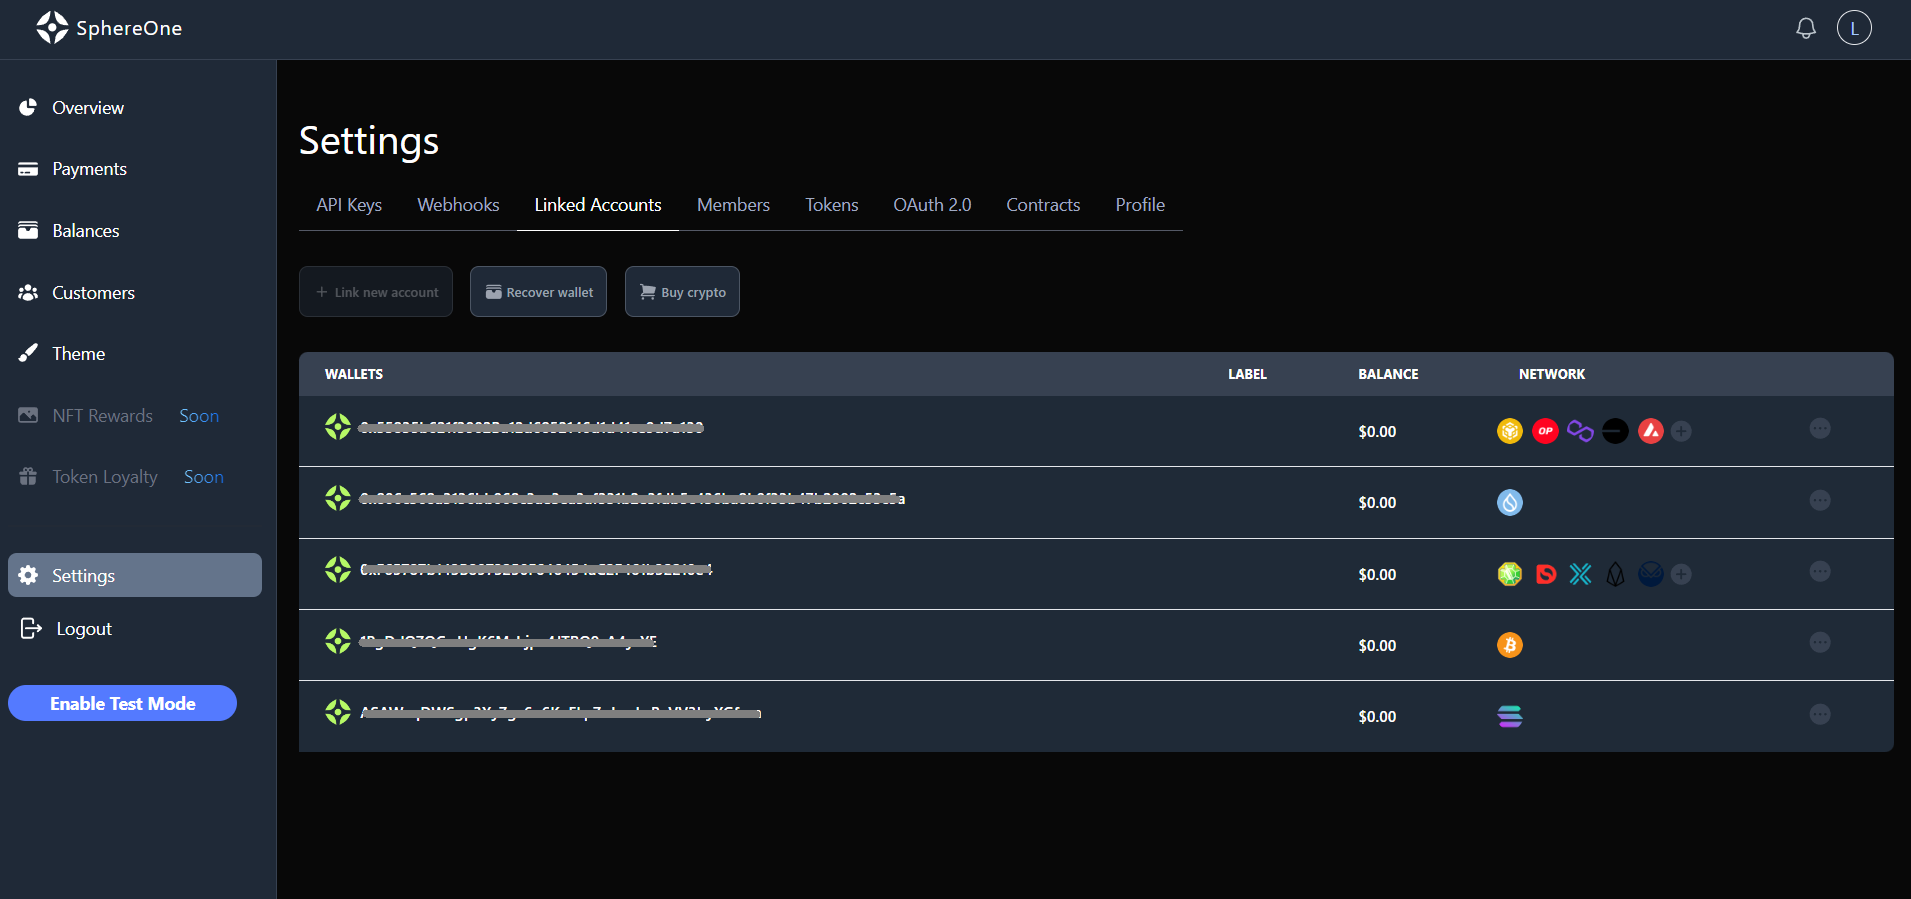
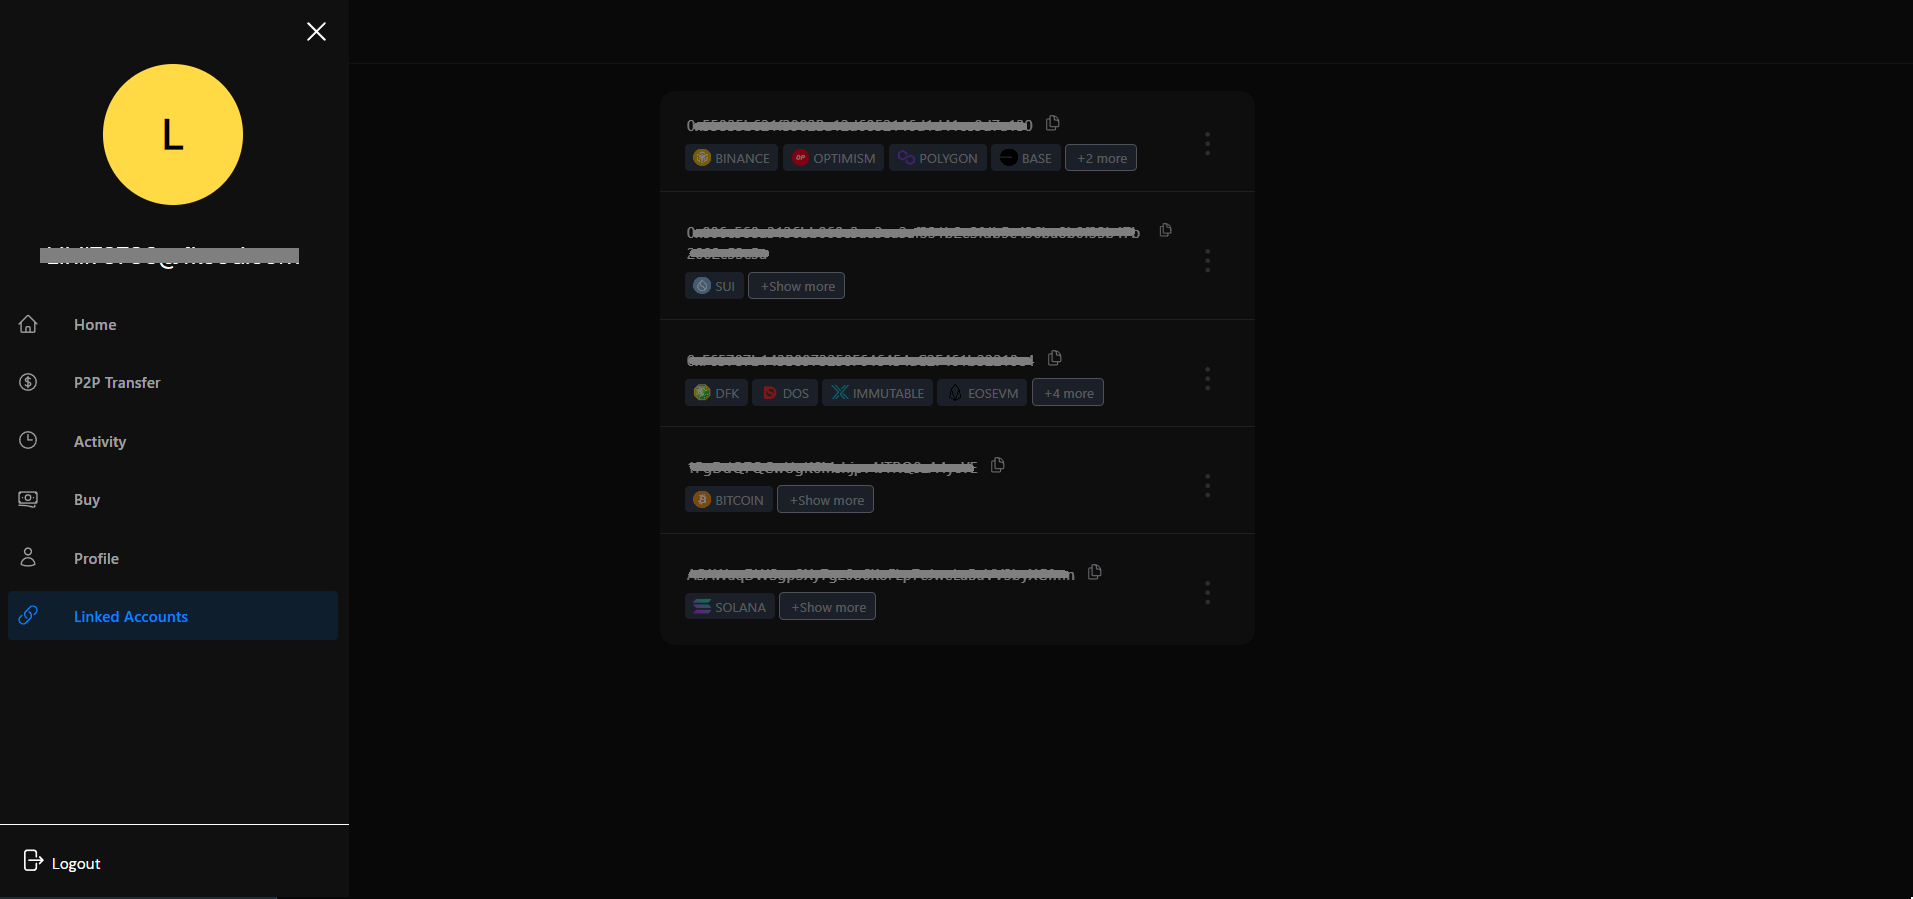
Once you've completed these steps, you can sign in using your newly created account. Smart wallets are automatically generated for new accounts. To access your wallet, go to the 'Settings' section and click on the 'Linked Accounts' tab, as shown in the screenshot below.
If you signed up through the dashboard, you can also log in to the SphereOne Wallet website using the same account!
You can further customize your account settings within the Merchant Dashboard or using the SphereOne Wallet.
Step 2 - Get API Key
To start using the SphereOne API for creating charges, making payments, and accessing other merchant-related features, you'll need an API Key. Follow these steps to retrieve your API Key:
- Click on your name in the bottom left corner of the SphereOne Merchant Dashboard to access the 'Settings' page as shown in the screenshot below. In there you will find the following tabs: API Keys, Webhooks, Linked Accounts, Members, Tokens, OAuth, Contracts and Profile

Note: It’s important to use your own API key since payments are linked to your account. If you use another account you won’t receive the money.
In the screenshot above, the Merchant Dashboard displays a "Test API Key" and a "Production API Key". Please note that to obtain a production API key, you need to be a verified merchant. Contact SphereOne support to initiate the verification process.
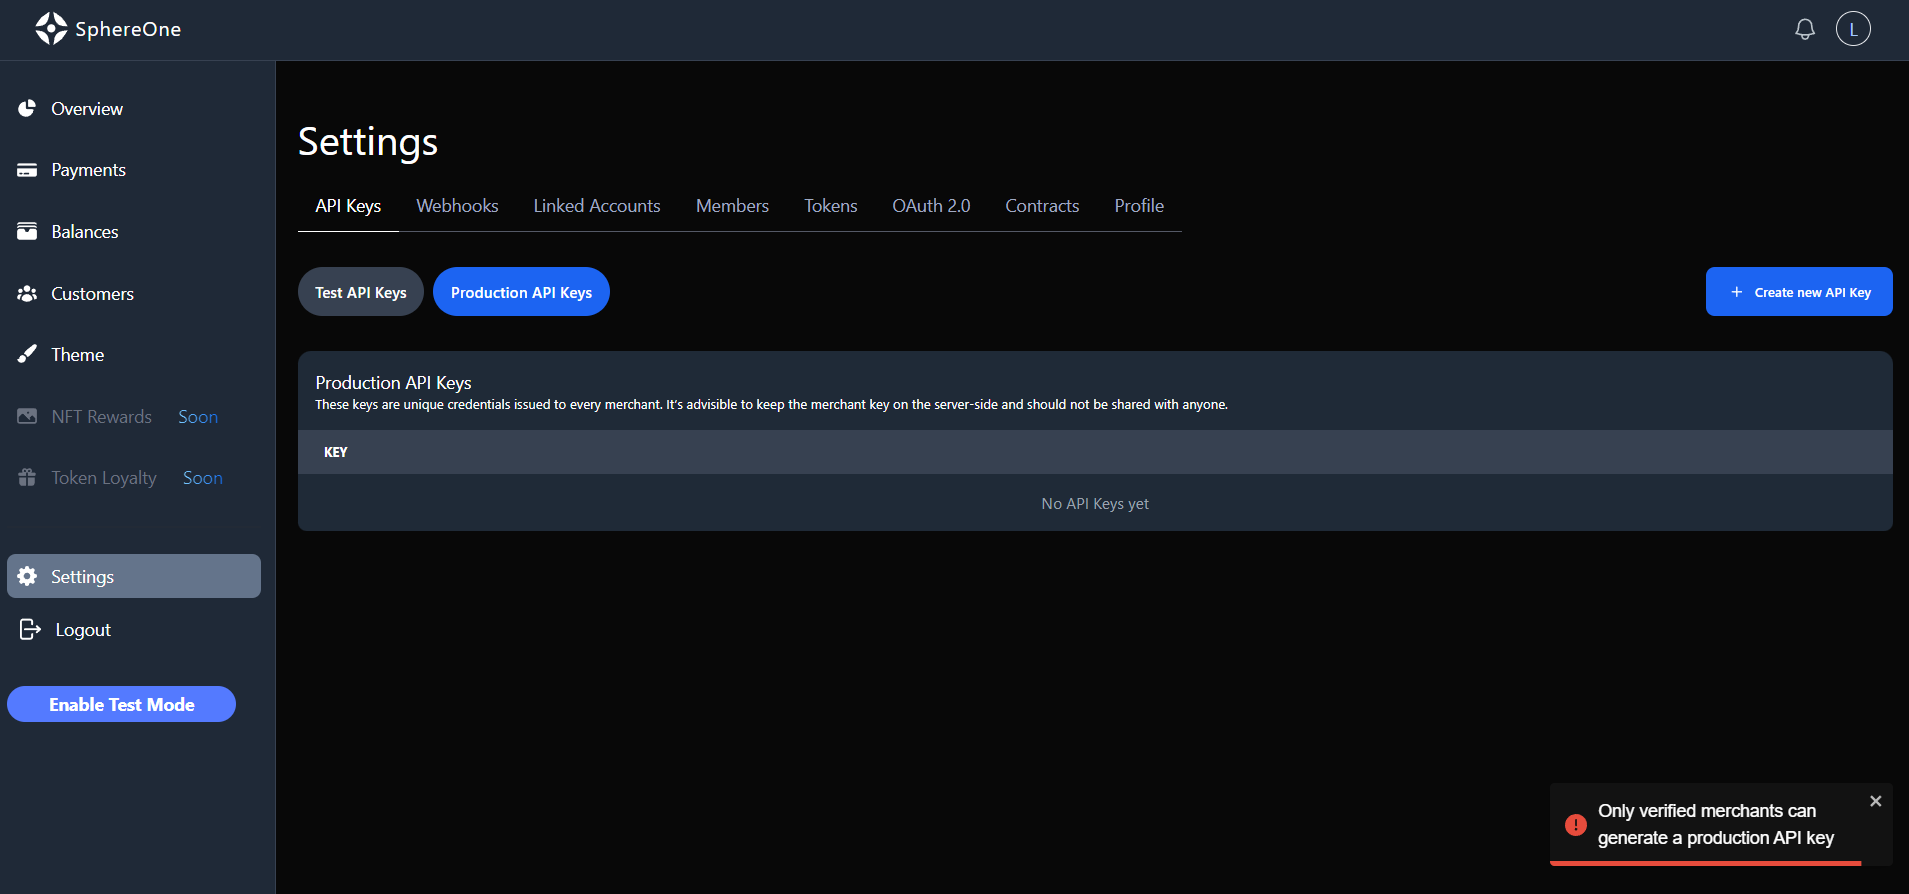
It is essential to acquire an API Key, as it will be used for creating charges, making payments, and accessing other features available to merchants.
Step 3 - Create a Charge
Once you have obtained an API key, whether it's for testing or production, you can start making requests to create charges.
A charge is an entity that contains information about the payment, items, images, prices, and other relevant details. It essentially represents a transaction. You will need to create a charge for each transaction you want to perform.
Here is an example of how to create a charge using cURL and an API key. In this example, we will create a charge for a yearly game subscription:
curl --location 'https://api-olgsdff53q-uc.a.run.app/createCharge' \
--header 'Content-Type: application/json' \
--header 'x-api-key: your-api-key' \
--data '{
		"isTest": false,
    "chargeData": {
        "symbol": "MATIC",
        "chain": "POLYGON",
        "successUrl": "https://sphereone.xyz/",
        "cancelUrl": "https://sphereone.xyz/consumer",
        "tokenAddress": "0x0000000000000000000000000000000000000000",
        "items": [
            {
                "amount": 2,
                "image": "https://images.esellerpro.com/3698/I/25/0008557_wenaas-chef-t-shirt-crew-neck-cotton-white.jpeg",
                "name": "SomeGame 1 year game-pass",
                "quantity": 1
            }
        ]
    }
}'
A successful response will look something like this:
{
    "data": {
        "paymentUrl": "https://sphereone.page.link/DKmTKcYC1aNbY1Dg7",
        "chargeId": "nUZuHpZSrdMjMeCsgup8"
    },
    "error": null
}
Step 4 - Making Payments
Once a charge is created, the merchant can initiate the payment process using one of the following methods:
-
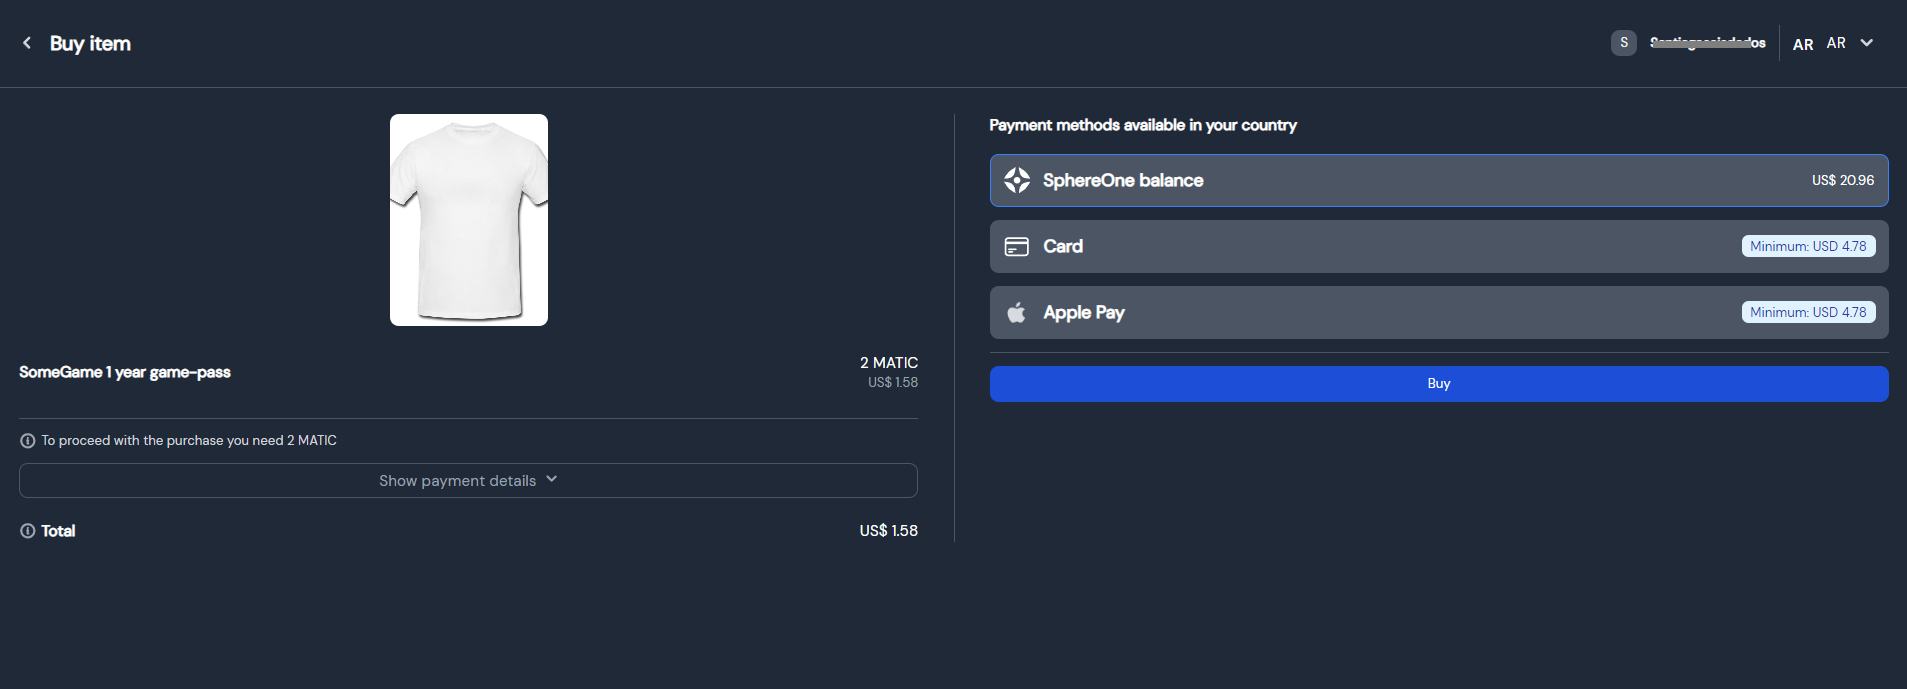
First method is redirecting consumers to a SphereOne self-hosted checkout site: To use this method, extract the
paymentUrlvalue from the created charge and redirect consumers to the provided paymentUrl link. The screenshot below shows an example of the SphereOne self-hosted checkout site.Consumers have the option to pay with their existing balance by selecting "Sphereone balance" as their payment method. Alternatively, they can pay with fiat currency through our affiliated partners by choosing from the available payment methods, which include but are not limited to credit/debit cards, bank transfers, Apple Pay, and Google Pay.
checkout website
Note: The availability and variety of payment methods may vary based on the user's location, which can be changed in the top right corner of the screen. In the example, the current user is paying from "AR - Argentina".
- Second method is making an API call to SphereOne's
payendpoint, so consumers won't be redirected to another site. However, the merchant needs to implement additional logic to integrate payment into their own system, which will be elaborated here: Quickstart: Installing the SDK.
Step 5 - Listen to Webhooks
To receive updates on successful or failed payments, you can set up a webhook or an endpoint in your system to receive notifications from SphereOne. Detailed information on setting up webhooks can be found in the Webhooks documentation.
In the Merchant Dashboard, navigate to your Account Settings to configure your webhook. You can enter the webhook URL or open API endpoint in the Webhook section, as shown in the screenshot below.

Once a payment is successful or fails, SphereOne will send a notification to the configured webhook URL or endpoint, providing information about the payment status and transaction details. You can then process this information in your system accordingly.
Updated 3 months ago
The first step in integrating with SphereOne is with our Login workflow. This step will enable the creation of charges and remaining purchase steps.