
Client Onboarding
Steps to properly onboard with SphereOne
1. Getting an Account with SphereOne
To get a Merchant Account with SphereOne, please go to SphereOne Merchant Dashboard and sign up. Please follow along.
You will be asked to verify your email with SphereOne's Auth Provider, and receive an email in your inbox. If you don't see it, please check your Spam. Near the end, you may be asked to sign in again.
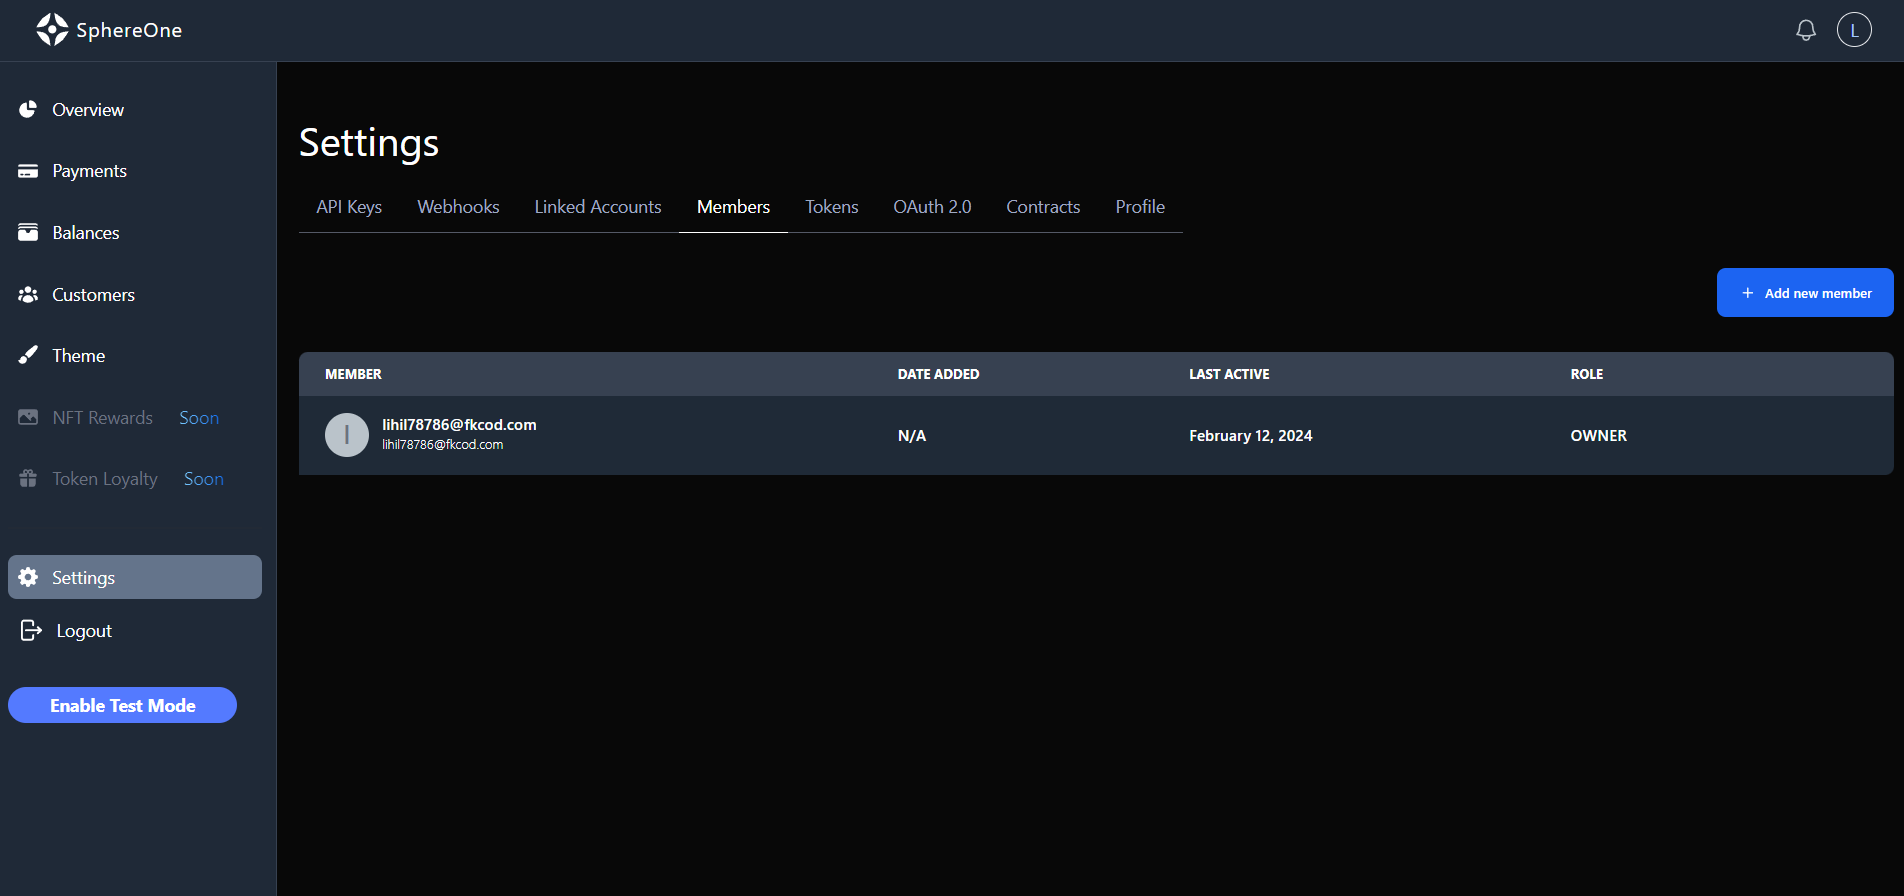
Once you're signed in, you can add other members of your team, from the Settings by clicking on your profile section at the bottom-left corner of the SphereOne Merchant Dashboard.
2. Get Prod API Key from SphereOne
To get a Prod API Key, please reach out to SphereOne on Telegram or Slack, if you've been invited into those groups. SphereOne will make the necessary changes on our side, to enable your access.
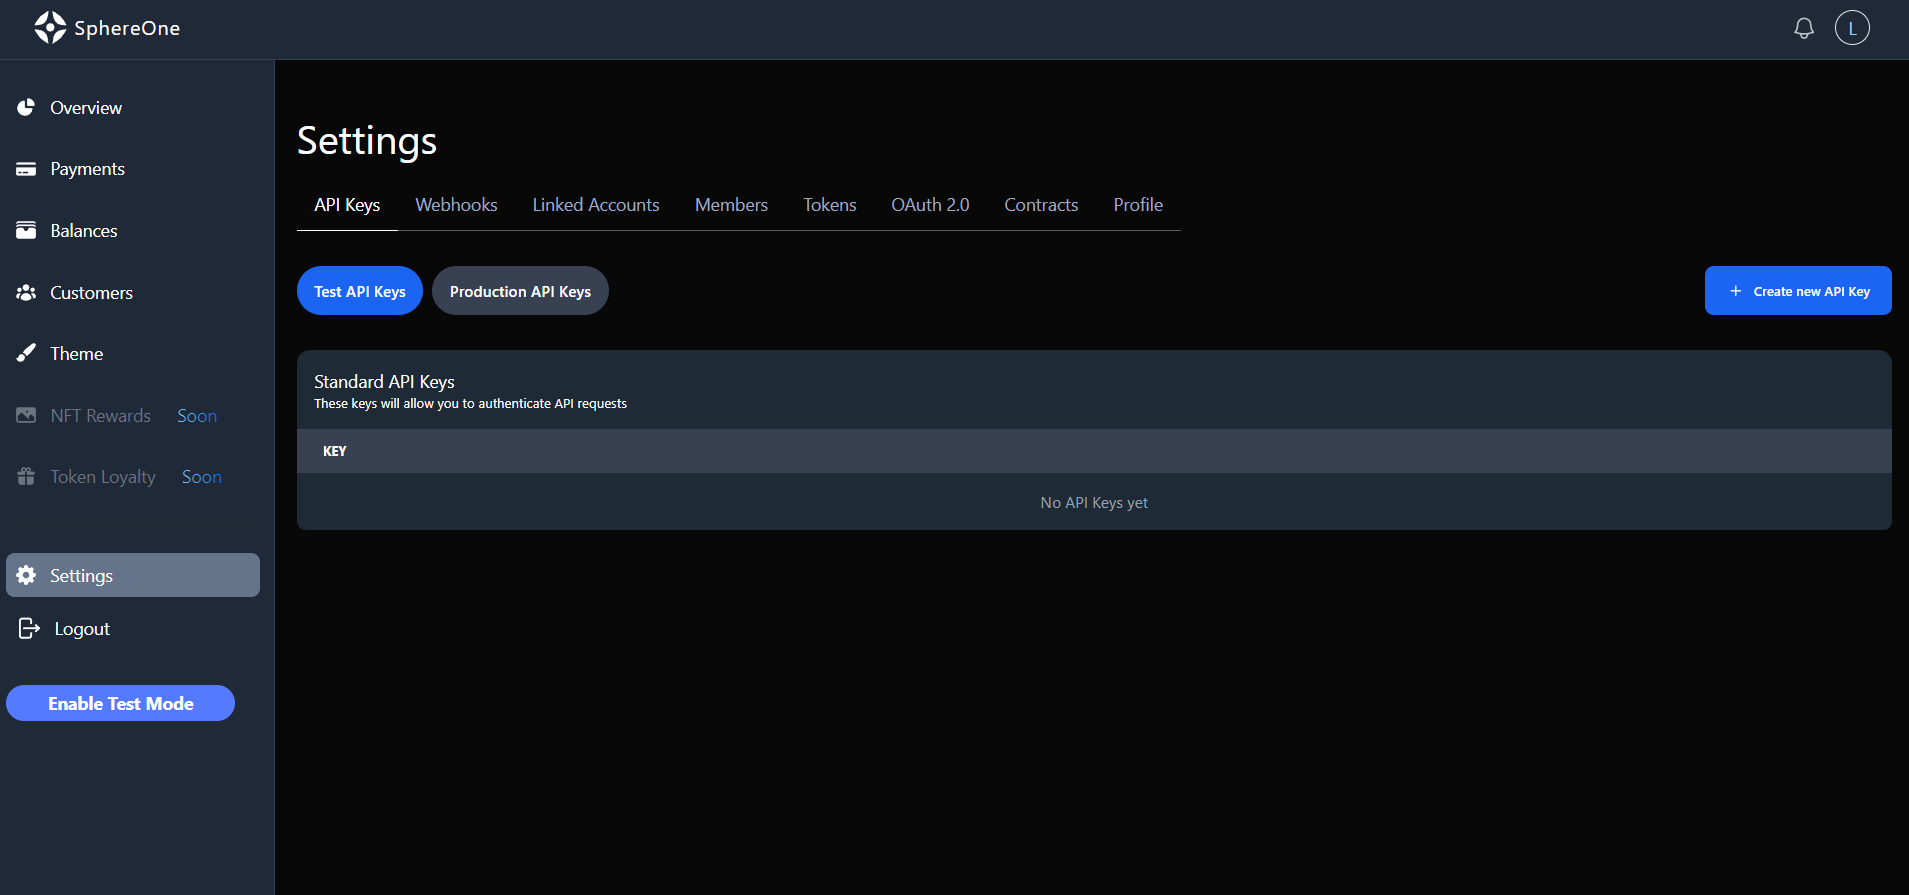
Once enabled, you should see an option to get an API Key in the Settings. If you don't see it, after being enabled, please either refresh the page or sign back in again. If it doesn't work, please let us know.
The API Key can be used to create Production Charges, which can be used in SphereOne's Payment system on Mainnet. And the Test API Key can be used to create Test Charges, which are used in SphereOne's Payment system on Testnets.
3. Create an OAuth 2.0 client
To integrate the SphereOne SDKs, it's necessary to create an OAuth 2.0 client. OAuth 2.0 is an authorization framework that allows third-party applications to access user accounts on an HTTP service. In simpler terms, it delegates user authentication to the service that hosts the user account and authorizes applications to access user accounts You can learn more about OAuth 2.0 and OpenID Connect here. This is an essential step that enables users to log in with SphereOne and use the payment API.
Here's how you can create an OAuth 2.0 client for the SphereOne SDKs integration:
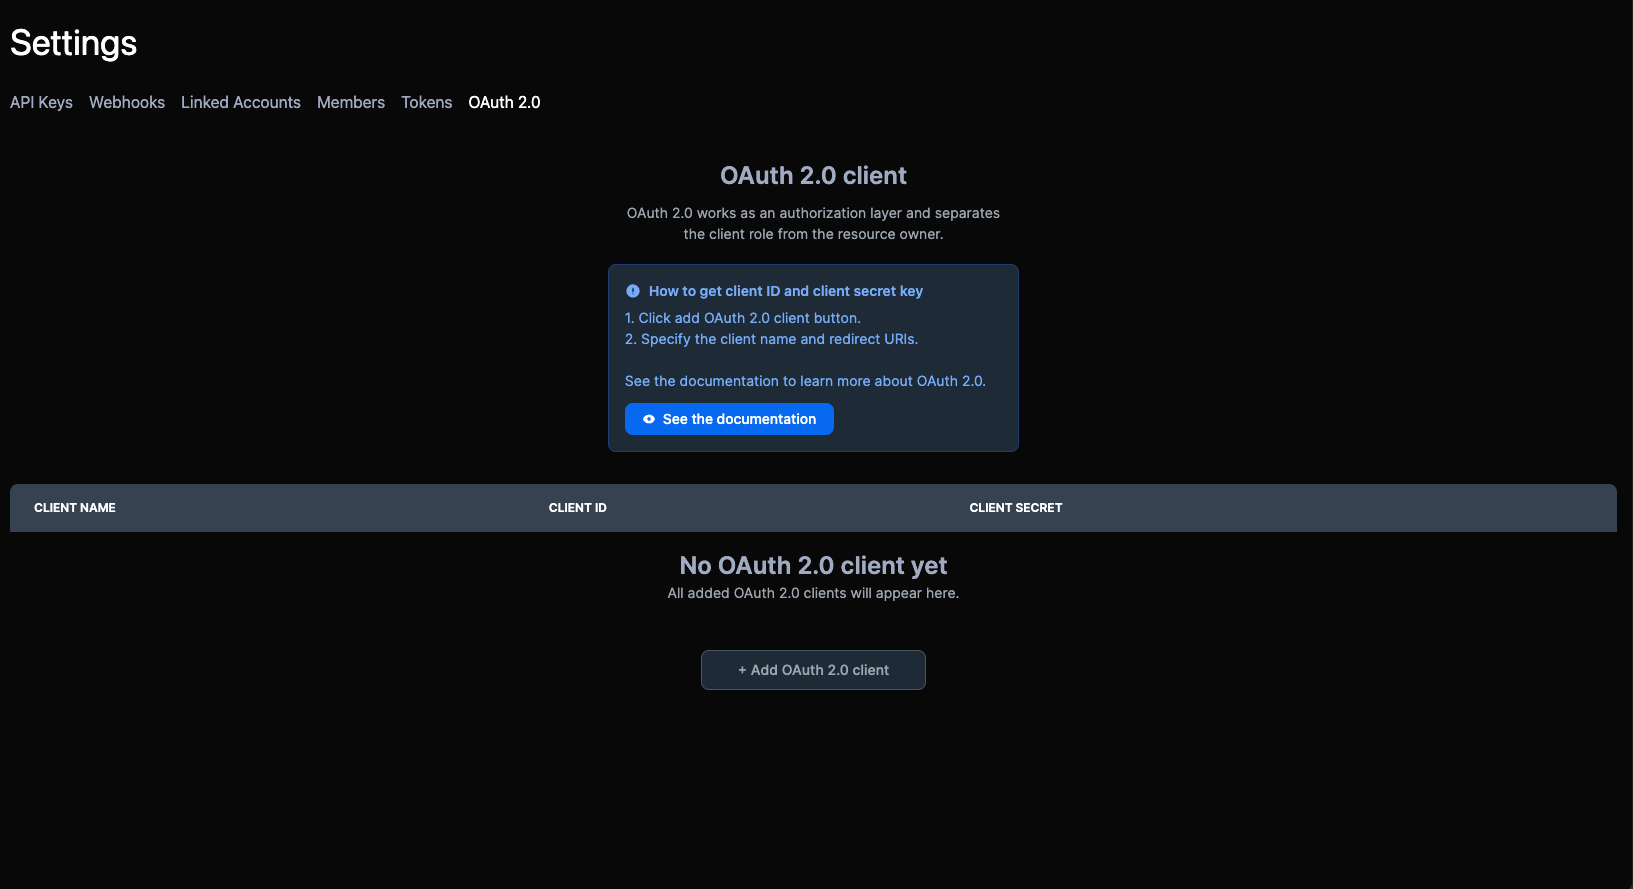
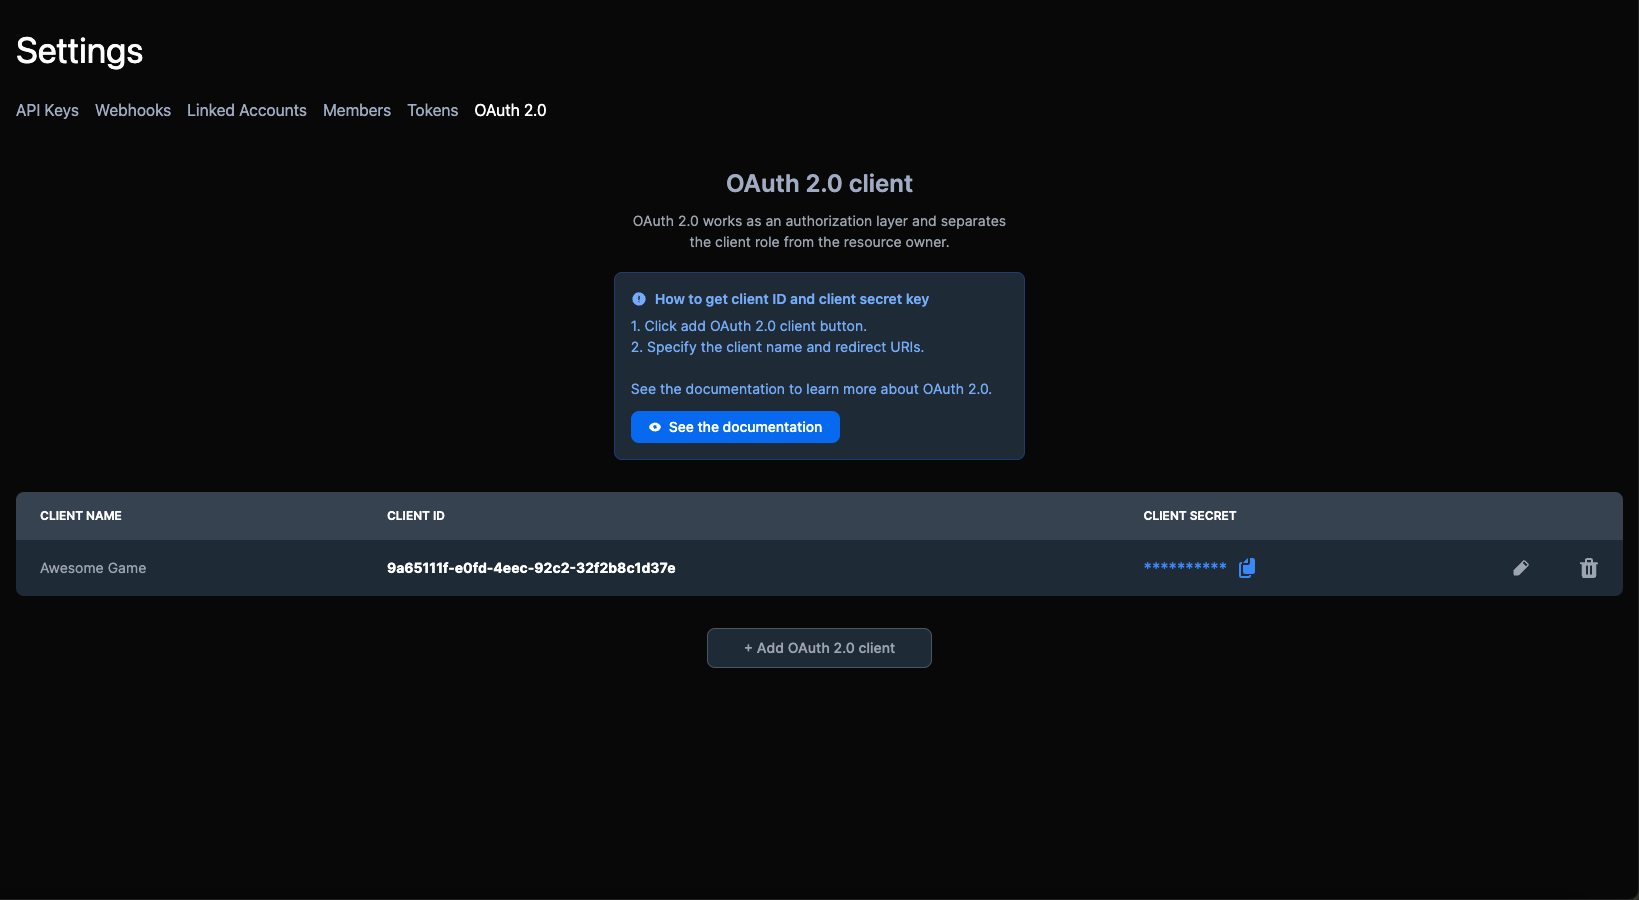
- Navigate to the OAuth 2.0 client section in the settings of the SphereOne Merchant Dashboard.
- Click on the "+ Add OAuth 2.0 client" button to open a form modal.
- Fill out the form by providing a client name (minimum 3 characters), one or more redirect URIs (for web URIs they to start with http:// or https://), and specify the access token lifetime (minimum value of 3600 seconds, and we recommend leaving the default value).
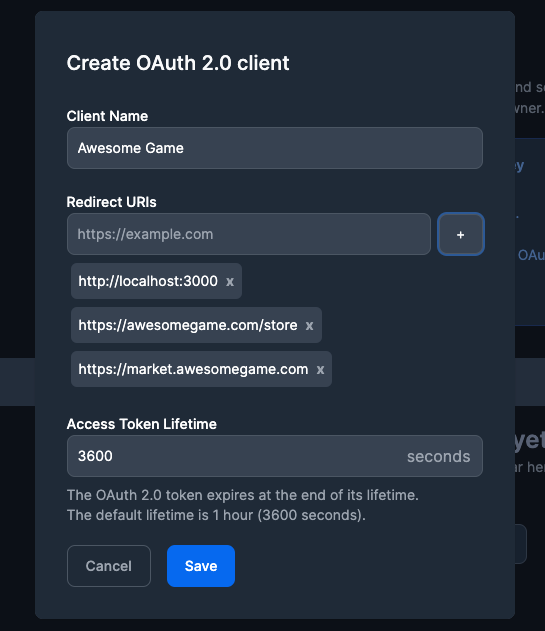
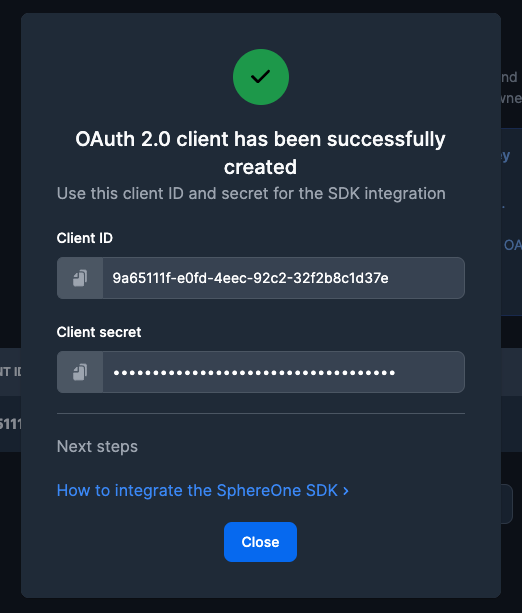
- After filling out and submitting the form, an OAuth 2.0 client will be created, and the client ID and a client secret key will be displayed. Copy and save them as you'll need them to integrate the SphereOne SDK.
You can always manage your clients in the OAuth 2.0 clients table. You'll be able to edit and delete them as needed.
4. SDK Integration
For SDK Integrations, SphereOne has these available SDKs:
| Platform | Availability |
|---|---|
| Web (React) | Yes |
| Unity (WebGL) | Yes |
| Unity (iOS) | TBD |
| Unity (Android) | TBD |
| Unreal | No |
Based on your platform of integration, please reach out to SphereOne on Telegram or Slack, if you've been invited into those groups.
The developers of SphereOne will do the necessary internal setups on SphereOne side and reach out when they're ready.
4. Additional Information
There may be additional information that SphereOne may require from you, which you can obtain from your developers. One such "additional information" is the "redirect url."
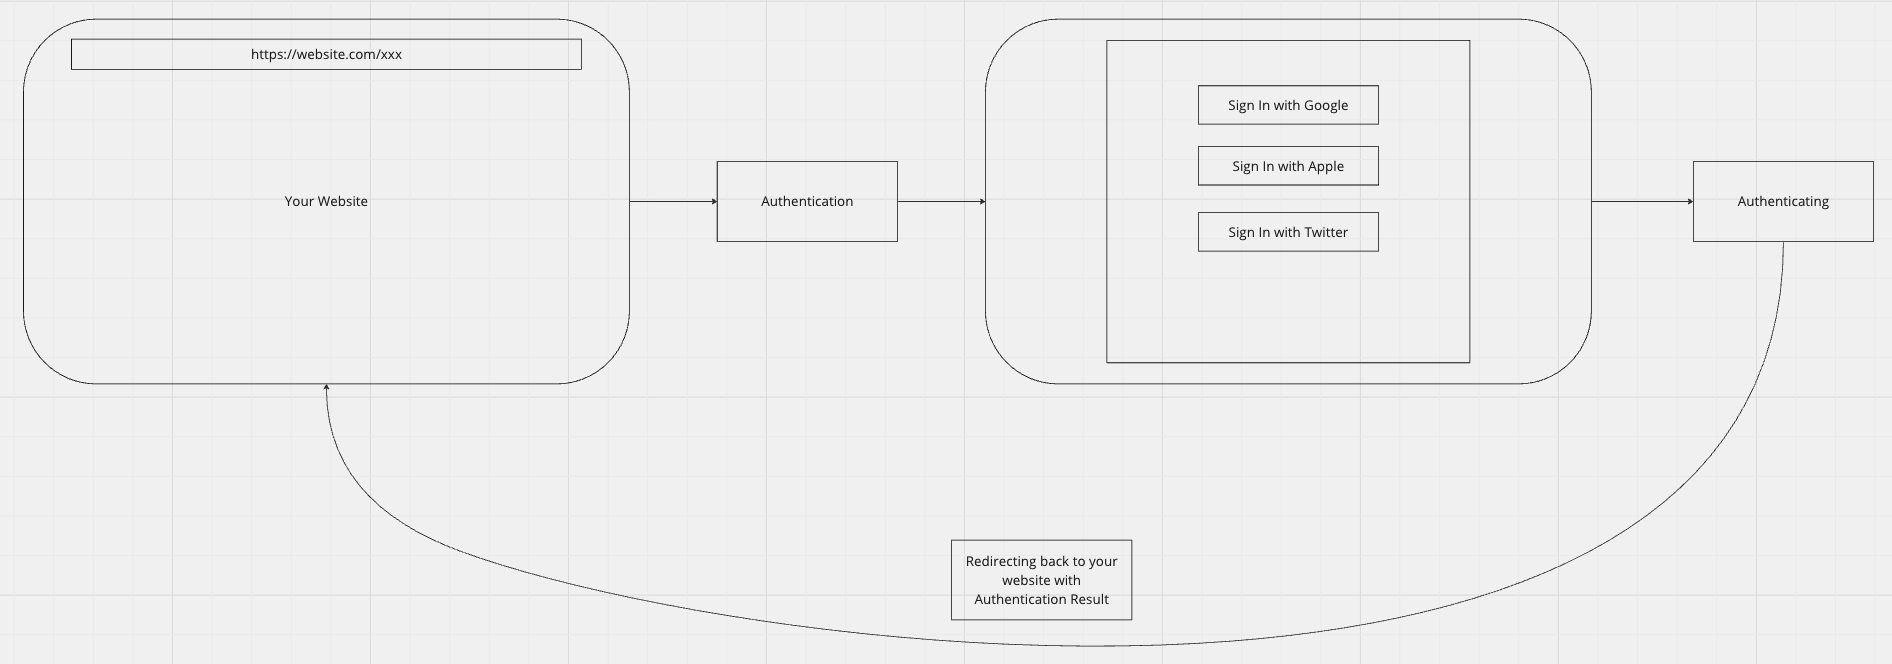
A "redirect url" is any website url that is the destination of an authentication result.
When user authentication is being performed, either a Pop-up Window will appear or your website will be redirected to another website. Once authentication is complete, the authentication result needs to be redirected back to your website. That's what the "redirect url" is.
Updated 3 months ago